How To Use a Laser Engraver
The Atomstack laser engraving machine is a high-precision machine that can cut, engrave and mark various materials with a laser beam. Because of its high precision, fast speed and easy operation, it is widely used in industrial manufacturing, artistic creation, jewelry processing, electronic appliances and other fields. This article will introduce in detail how to use the laser engraving machine, including equipment preparation, file production, program setting, operation process and common problem solving, etc., hoping to be helpful to beginners.
Equipment Preparation
1. Equipment installation
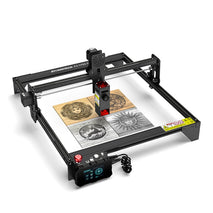
Atomstack S20 Pro laser engraving machine usually consists of machine body, control system, heat dissipation system and power supply system. Before use, it is necessary to install the machine on a stable ground and connect all interface lines. At the same time, make sure that there is enough space and ventilation around the machine to avoid overheating or noise disturbance.
2. Material preparation
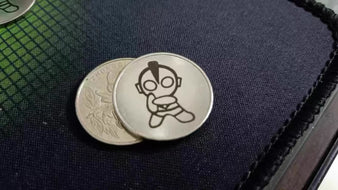
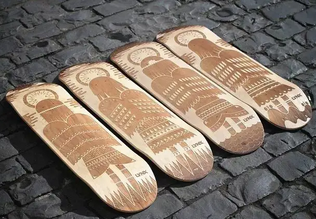
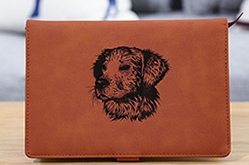
Laser engraving machines can engrave and cut a wide variety of materials, such as wood, leather, cloth, plastic, metal, and more. Before use, it is necessary to select a suitable material, and measure its size and shape, so as to adjust the parameters when designing the file.
3. Safety measures
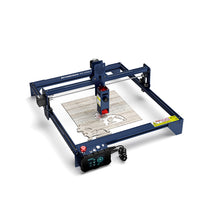
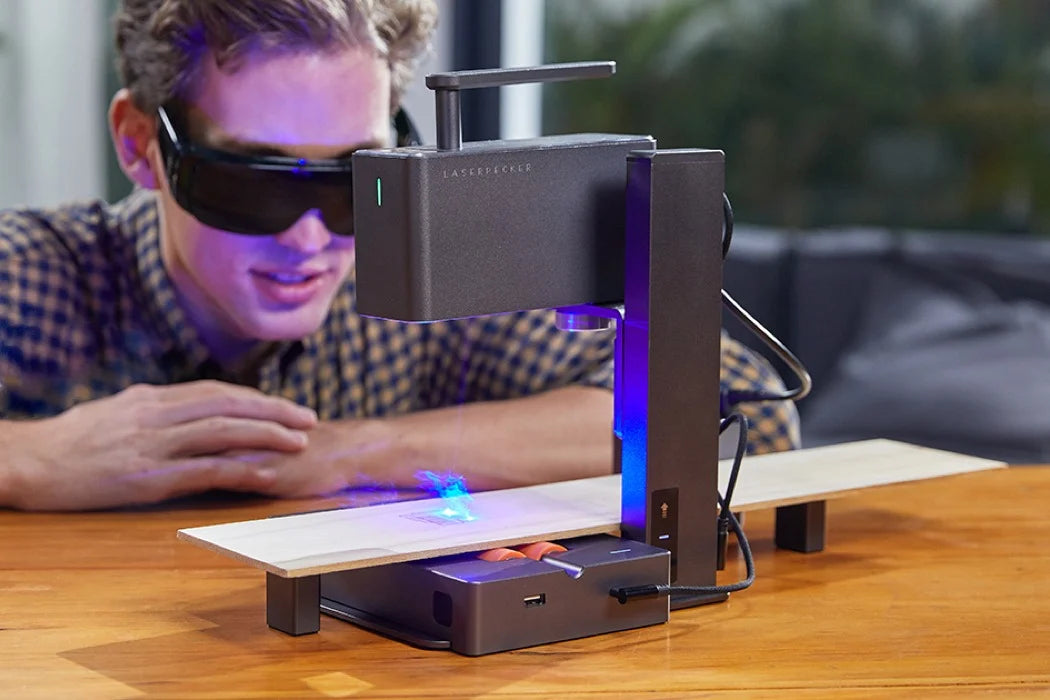
Since the Atomstack S30 Pro laser engraving machine uses a high-energy laser beam, adequate safety measures must be taken before use. Operators need to wear protective glasses, gloves and other personal protective equipment, and place the machine in a room with safety protection measures to prevent accidental laser injury to the human body.
Documentation
1. Select design software
The laser engraving machine can be compatible with various design software, such as AutoCAD, CorelDRAW, Photoshop, etc. Before choosing software, you need to consider your own operating habits and design requirements, and learn the corresponding software skills to operate.
2. Make design files
Convert the design drawing into a file format that can be recognized by the laser engraver. For example, in CorelDRAW, you can directly output the drawing into the PLT format through the File->Print option. At the same time, it is also necessary to adjust the corresponding scale, speed and other parameters according to the characteristics of the material and the parameter settings of the machine during the file making process.
Program Settings
1. Select laser parameters
Before cutting and engraving, it is necessary to select appropriate laser parameters, including power, speed, frequency, etc. Different materials and design requirements require different laser parameter settings, which need to be adjusted according to the actual situation.
2. Calculate the scale depth
Scale depth refers to the depth of marking on the material, which is an important parameter. When calculating the scale depth, factors such as laser power, material hardness, speed, etc. need to be considered, and the best parameters can be determined by testing samples.
Operation Process
1. Power-on inspection
Before starting up, it is necessary to check whether all parts of the machine are in good condition, and to clean the cooling system. At the same time, it is also necessary to ensure that the power supply, computer and other hardware devices are connected and working normally.
2. Load the design file
Import design files into the laser engraving machine control system for preview and editing. After confirmation, you can proceed to the next step.
3. Set laser parameters
According to the material and design requirements, set the appropriate laser parameters. It should be noted here that different materials and design requirements require different laser parameter settings, which need to be adjusted according to the actual situation.
4. Positioning material
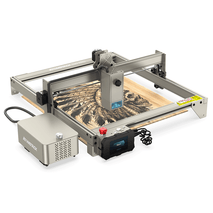
Before putting the material into the LaserPecker 3 laser engraver, it is necessary to clean the surface of the material to ensure that there is no interference such as dust. The material is then placed on the machine and positioned to ensure the material is scored as expected.
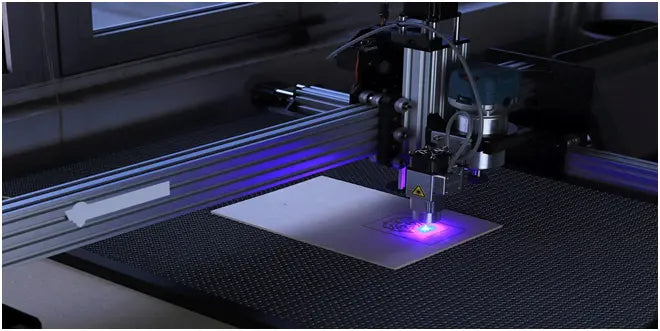
5. Start the laser
After adjusting all the parameters, you can press the start button to start the laser engraving machine. During the operation, it is necessary to pay attention to the state of the material at any time to avoid errors caused by excessive temperature and material deformation.
6. End operation
After the operation, the laser engraver needs to be shut down for cleaning and maintenance. At the same time, it is also necessary to save the design files and related parameters for future use.
Solving Common Problems
1. Unclear engraving
It may be caused by low laser power, high speed, uneven material surface, etc. You need to adjust the corresponding parameters and try again.
2. Material burnout
It may be caused by too high laser power, too deep marking depth, unsuitable material for engraving, etc. You need to adjust the corresponding parameters and try again.
3. Machine failure
It may be caused by internal failure of the machine, unstable power supply, etc., and it needs to be repaired or replaced in time.
Summarize:
Ortur Laser Master 3 laser engraver is an efficient and precise machine equipment, its usage method and skill operation are especially important for beginners. This article introduces in detail how to use the laser engraving machine, including equipment preparation, file production, program setting, operation process and common problem solving, etc., hoping to help beginners and improve work efficiency.


