Laser Engraving Materials Guide
Laser engraving is more than just fastening any material in the work area and pressing a button. Each material has its quirks and idiosyncrasies that sometimes help you achieve your design goals and sometimes make it difficult. The following list will guide you through the properties of the most common materials.
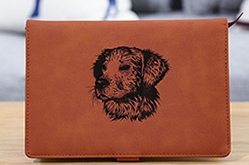
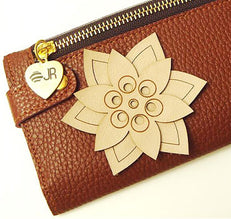
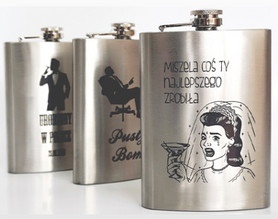
Laser Engraved Leather
Finished leather can be laser engraved, creating a look similar to popular brands. Avoid raster marking on large surfaces as the leather will become powdery. Therefore, it is recommended to use vector markers.
Since leather is a natural material, it may deform during laser engraving if too much power is applied.
Due to the wide variety of leathers, it is difficult to come up with a general rule for laser engraving. Therefore, it is not possible to determine the best laser engraving settings for each type individually. To do this, test your machine with a grayscale matrix.
Laser Engraved Paper/Cardboard
Due to the wide variety of paper and board, it is recommended to determine the best laser engraving settings for each paper and board individually. To do this, test your machine with a grayscale matrix.
Laser engraved wood
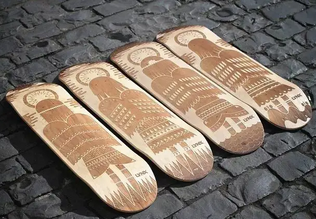
In addition to natural wood, there is also plywood, which has several advantages. This laser-engraved material consists of several wooden boards glued together. Therefore, plywood has higher mechanical strength, water resistance and lighter weight. All of these properties make plywood a staple product for builders, designers, artists and craftsmen.
Plywood has an added advantage over natural wood when it comes to laser engraving. When sliced thinly, the latter presents grains of different shades derived from different growth types in different seasons. These differences also translate into different laser engraved surfaces. Typically, brighter areas are brightened and darker areas are darkened.
As a rule of thumb, unless your desired design look is a zebra pattern, it's best to use plywood with an even surface.
When engraving hardwoods, you should always use higher laser powers to achieve smooth results.
To determine the best laser engraving settings, test your machine with a grayscale matrix.
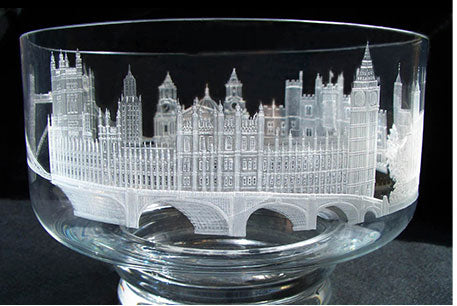
Laser engraved glass
Several practical methods can be used to control the laser's effect on the glass surface:
Use a damp paper towel for a smoother finish and white sculpting. Be careful not to have bubbles or overlaps, as this will distort the effect. When engraving is complete, it can be easily wiped off with a paper towel.
An alternative to paper towels is duct tape. Like wet wipes, tape is an excellent measure against rough surfaces. The same caveats about bubbles and overlaps apply. However, the final engraving color is not bright white but looks gray. Tape residue can be easily removed after engraving is complete.
But what to do when your laser engraver doesn't have enough power to engrave glass? You can still achieve high contrast designs by drawing paint with a tape stencil! Simply mask the glass surface with tape and engrave your design onto it. Next, use a brush to apply a thin coat of paint to the exposed areas of the tape. After the paint dries, remove the tape and carefully remove any tape residue.
Laser engraved stone
When engraving stone, you will find that polished stone works best, to avoid distortion of the laser engraved pattern, try to use a stone with a flat surface. You can use modeling clay as a support, align the natural stone with the laser and apply an average when setting the laser focus for an even result
If the results are not satisfactory, consider changing the Z Offset value. This simple trick can dramatically improve your engraving. Many professional laser engravers report that hard stone is easier to process if a negative Z offset value of 1 mm or greater is chosen. The physics behind this workaround is simple. The closer the surface to be engraved is to the laser, the more energy can enter.
But what to do when your laser engraver doesn't have enough power to carve stone? Or, when working with extremely hard stones that fail to produce satisfactory results? You can still achieve high contrast designs by drawing paint with a tape stencil! Simply mask the glass surface with tape and engrave your design onto it. Next, use a brush to apply a thin coat of paint to the exposed areas of the tape. After the paint dries, remove the tape and carefully remove any tape residue.
Laser Engraved Leather
Finished leather can be laser engraved, creating a look similar to popular brands. Avoid raster marking on large surfaces as the leather will become powdery. Therefore, it is recommended to use vector markers.
Since leather is a natural material, it may deform during laser engraving if too much power is applied.
Due to the wide variety of leathers, it is difficult to come up with a general rule for laser engraving. Therefore, it is not possible to determine the best laser engraving settings for each type individually. To do this, test your machine with a grayscale matrix.
Laser Engraved Paper/Cardboard
Due to the wide variety of paper and board, it is recommended to determine the best laser engraving settings for each paper and board individually. To do this, test your machine with a grayscale matrix.
Laser engraved wood
In addition to natural wood, there is also plywood, which has several advantages. This laser-engraved material consists of several wooden boards glued together. Therefore, plywood has higher mechanical strength, water resistance and lighter weight. All of these properties make plywood a staple product for builders, designers, artists and craftsmen.
Plywood has an added advantage over natural wood when it comes to laser engraving. When sliced thinly, the latter presents grains of different shades derived from different growth types in different seasons. These differences also translate into different laser engraved surfaces. Typically, brighter areas are brightened and darker areas are darkened.
As a rule of thumb, unless your desired design look is a zebra pattern, it's best to use plywood with an even surface.
When engraving hardwoods, you should always use higher laser powers to achieve smooth results.
To determine the best laser engraving settings, test your machine with a grayscale matrix.
Laser engraved glass
Several practical methods can be used to control the laser's effect on the glass surface:
Use a damp paper towel for a smoother finish and white sculpting. Be careful not to have bubbles or overlaps, as this will distort the effect. When engraving is complete, it can be easily wiped off with a paper towel.
An alternative to paper towels is duct tape. Like wet wipes, tape is an excellent measure against rough surfaces. The same caveats about bubbles and overlaps apply. However, the final engraving color is not bright white but looks gray. Tape residue can be easily removed after engraving is complete.
But what to do when your laser engraver doesn't have enough power to engrave glass? You can still achieve high contrast designs by drawing paint with a tape stencil! Simply mask the glass surface with tape and engrave your design onto it. Next, use a brush to apply a thin coat of paint to the exposed areas of the tape. After the paint dries, remove the tape and carefully remove any tape residue.
Laser engraved stone
When engraving stone, you will find that polished stone works best, to avoid distortion of the laser engraved pattern, try to use a stone with a flat surface. You can use modeling clay as a support, align the natural stone with the laser and apply an average when setting the laser focus for an even result
If the results are not satisfactory, consider changing the Z Offset value. This simple trick can dramatically improve your engraving. Many professional laser engravers report that hard stone is easier to process if a negative Z offset value of 1 mm or greater is chosen. The physics behind this workaround is simple. The closer the surface to be engraved is to the laser, the more energy can enter.
But what to do when your laser engraver doesn't have enough power to carve stone? Or, when working with extremely hard stones that fail to produce satisfactory results? You can still achieve high contrast designs by drawing paint with a tape stencil! Simply mask the glass surface with tape and engrave your design onto it. Next, use a brush to apply a thin coat of paint to the exposed areas of the tape. After the paint dries, remove the tape and carefully remove any tape residue.
Older Post
 Newer Post
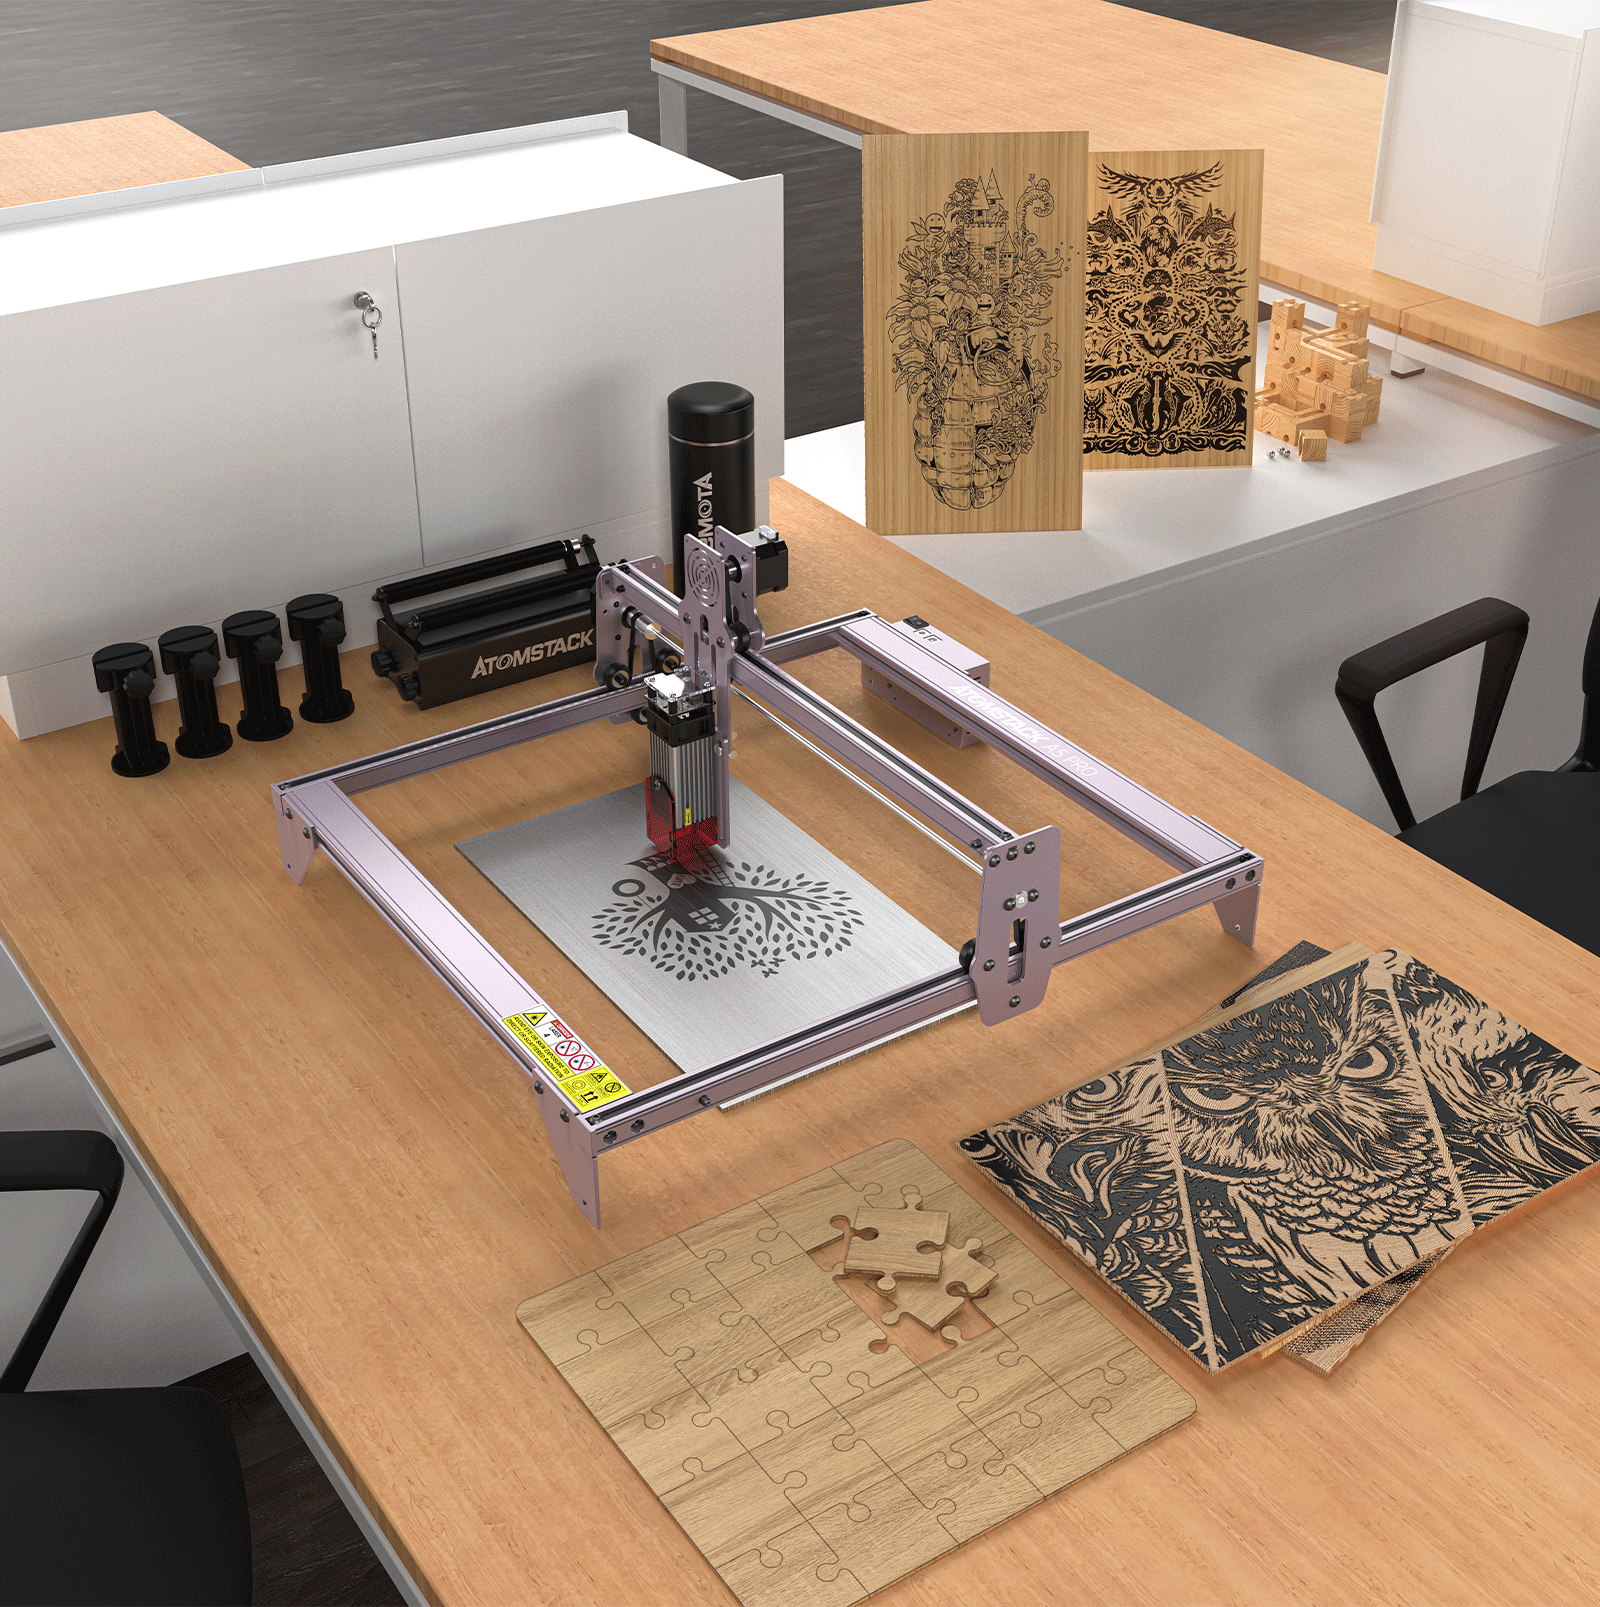
The Atomstack A5 Pro Laser Engraver Review

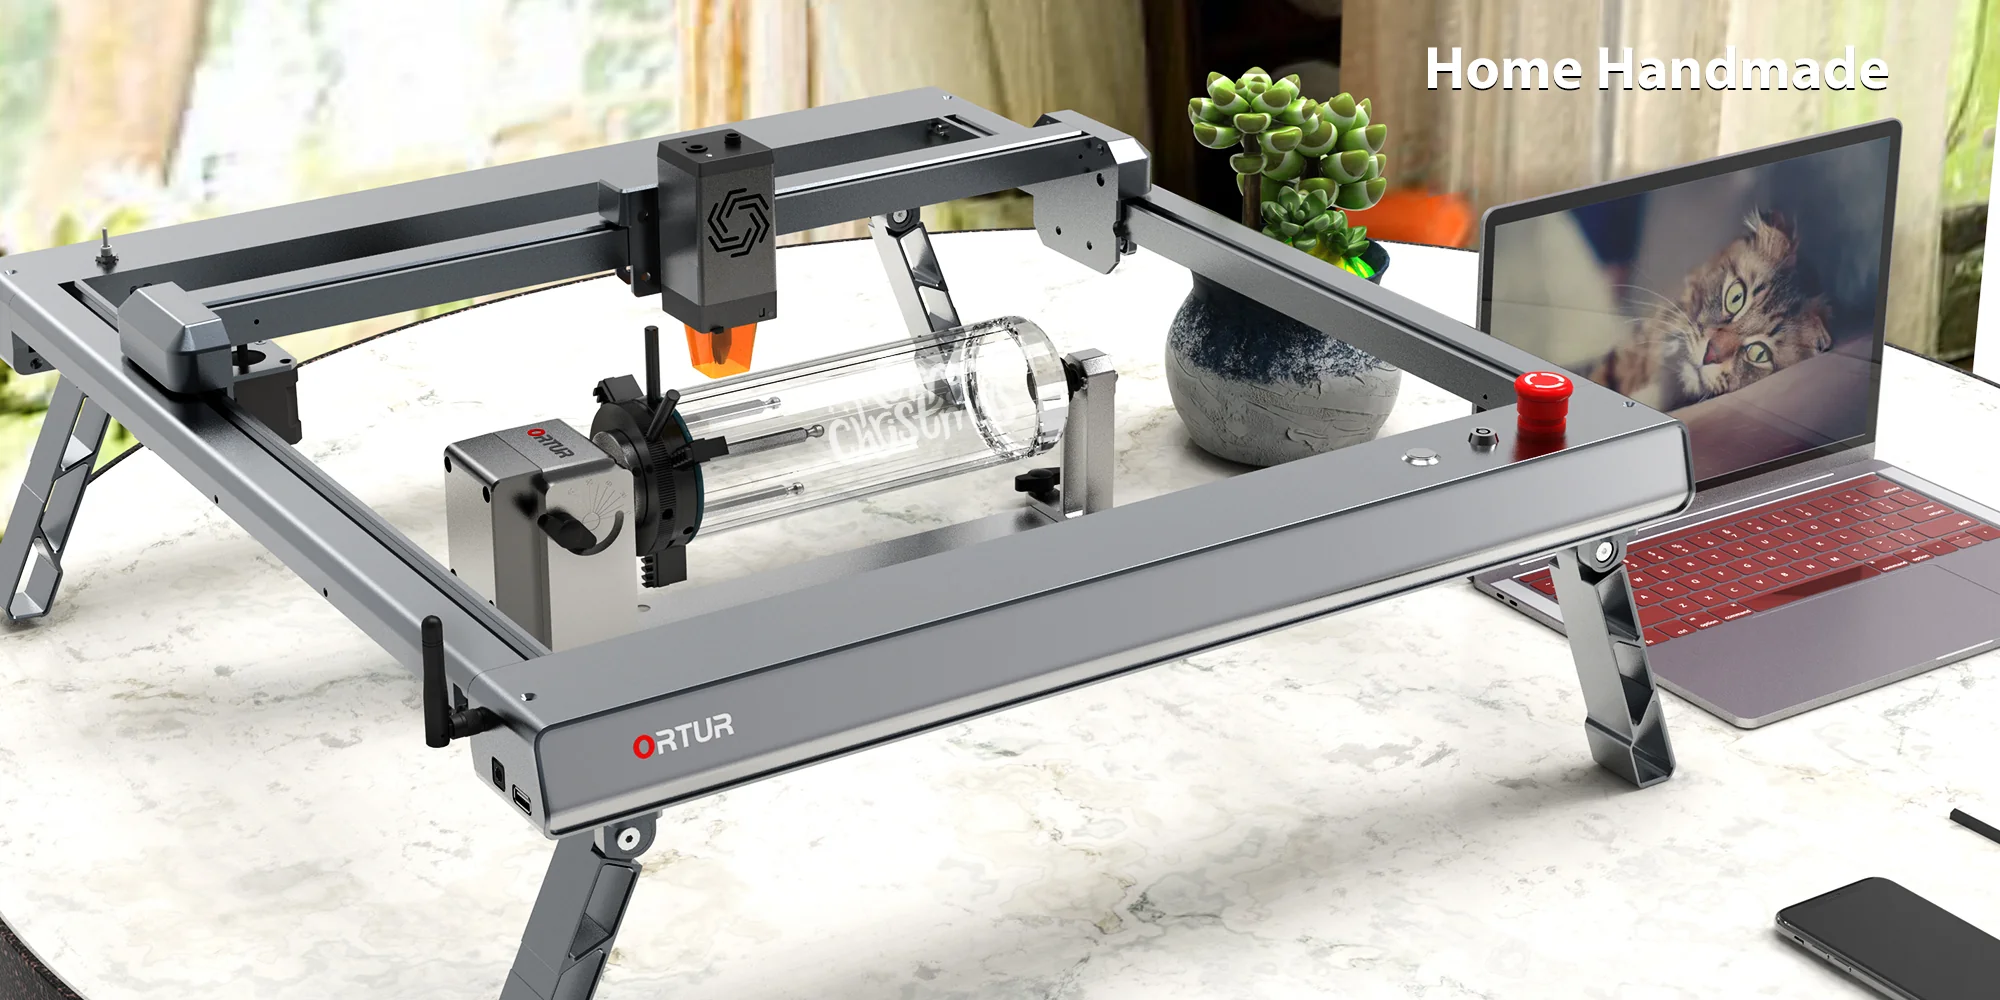
Fast, Powerful DIY Laser Engraver and Cutter Ortur LU3-20A Detailed Review


